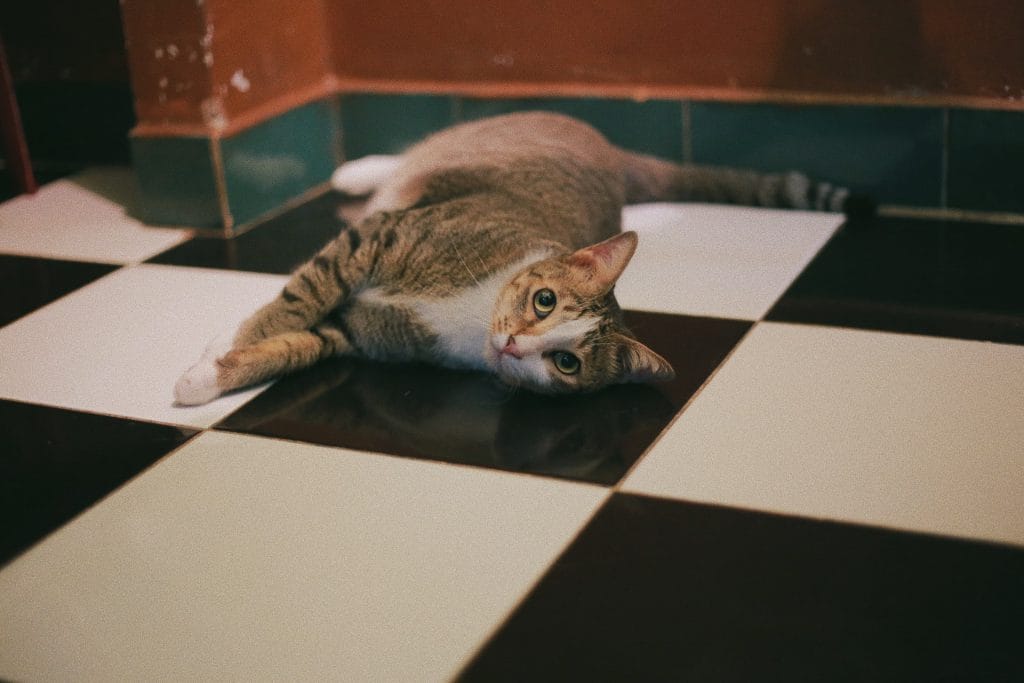
Tiles are a popular choice for Sydney homes, particularly in kitchens, bathrooms and other high-traffic areas. They’re durable, practical and generally easy to maintain, making them well suited to busy households.
However, even durable tile surfaces can accumulate dirt, soap residue, stains and grime over time. Grout lines can be particularly prone to discolouration and build-up, leaving an otherwise clean surface looking dull.
That’s where deep tile cleaning can make a difference. The right cleaning method depends on the type of tile, grout and stain you’re dealing with. Using suitable products and gentle techniques can help remove built-up dirt without unnecessarily damaging the surface.
Below are four practical tile cleaning techniques for dealing with everyday grime, stains, mildew and rust.
Table of contents:
Mop the tile floor
Regular mopping helps remove everyday dirt and residue before it becomes harder to clean. Before choosing a cleaning solution, check the manufacturer’s recommendations for your particular tile and grout.
- Remove loose dirt first: Sweep or vacuum the floor to remove dust, grit and other debris that could be spread around during mopping.
- Prepare a suitable cleaning solution: Use a tile-safe floor cleaner diluted according to the manufacturer’s instructions, or another cleaning solution known to be suitable for your tile type.
- Mop the floor: Work across the surface using a damp mop rather than flooding the floor. Pay extra attention to areas with visible build-up, but avoid excessive scrubbing.
- Remove residue: If the cleaning product requires rinsing, mop the surface again with clean water to remove any remaining residue.
- Allow the floor to dry: Good ventilation can help the surface and grout dry more quickly.
Note – Avoid acidic cleaners such as vinegar on acid-sensitive surfaces, including marble, limestone and some other natural stone tiles. Always check the manufacturer’s care instructions before using a new cleaning product.
Remove stains
Dried or stubborn stains can be more difficult to remove, particularly when spills have been left untreated for some time. The safest approach is to identify the type of tile and stain before choosing a cleaning product.
- Remove loose residue: Wipe or gently scrape away any surface residue using a suitable non-abrasive tool.
- Choose a suitable cleaner: Use a cleaning product designed for the type of tile and stain you are treating. Follow the product instructions rather than mixing different cleaners.
- Test first: Apply the product to a small, inconspicuous area to check that it does not affect the tile’s colour or finish.
- Work gently: Use a soft cloth or non-abrasive brush to work on the stain. Avoid aggressive scrubbing, particularly on polished, glazed or delicate surfaces.
- Rinse and dry: Remove any remaining cleaning product according to the manufacturer’s instructions, then allow the area to dry.
For persistent stains, professional tile and grout cleaning may be a safer option than repeatedly applying stronger products or abrasive cleaners.
Clean mildew
Bathrooms and other areas with frequent moisture can develop mildew or mould on tile and grout, particularly where ventilation is limited. Keeping the area dry and addressing moisture problems can help reduce recurring growth.
- Protect yourself: Wear suitable gloves and ensure the area is well ventilated before cleaning.
- Choose an appropriate product: Use a mould or mildew cleaner that is specifically labelled as suitable for your tile and grout. Follow the manufacturer’s directions carefully.
- Apply as directed: Allow the product to work for the recommended time rather than using excessive amounts.
- Gently clean the surface: Use a suitable soft or non-abrasive brush to remove loosened residue.
- Rinse and dry: Remove the cleaning product as directed and allow the tile and grout to dry thoroughly.
Important: Never mix bleach, ammonia, acids or other household cleaning products. If mildew keeps returning, look for the underlying source of moisture or poor ventilation rather than repeatedly treating the surface.
Remove rust
Rust stains can occur around metal fixtures, furniture legs, drains or other sources of iron. Because rust-removal products can react differently with different tile and grout materials, choosing the right product is important.
- Identify the surface: Check whether the affected area is ceramic, porcelain, natural stone or another tile material before selecting a rust remover.
- Choose a suitable rust remover: Use a product specifically designed for your tile type and follow its instructions carefully.
- Test first: Apply the product to a small, inconspicuous area before treating the visible stain.
- Work gently: Use a soft cloth or suitable non-abrasive brush rather than aggressively scrubbing the surface.
- Rinse thoroughly: Remove all remaining product according to the manufacturer’s instructions and allow the area to dry completely.
Avoid using kerosene or other unsuitable household chemicals as DIY rust removers. If the rust stain is extensive, old or affecting porous grout or natural stone, professional treatment may be the safer option.
Conclusion
Tiles are durable and relatively easy to maintain, but they still need regular care to prevent dirt, stains and residue from building up. Using the right cleaning method for the tile and grout is important, particularly when dealing with stubborn stains, mildew or rust.
Avoid harsh or unsuitable chemicals and abrasive scrubbing that could damage the surface. When everyday cleaning is no longer enough, professional tile and grout cleaning can help tackle built-up dirt and difficult areas using methods suited to the surface.
If your tiles need more than a routine clean, our professional cleaning team can help. Explore our tile and grout cleaning service for a deeper clean.